General Setting
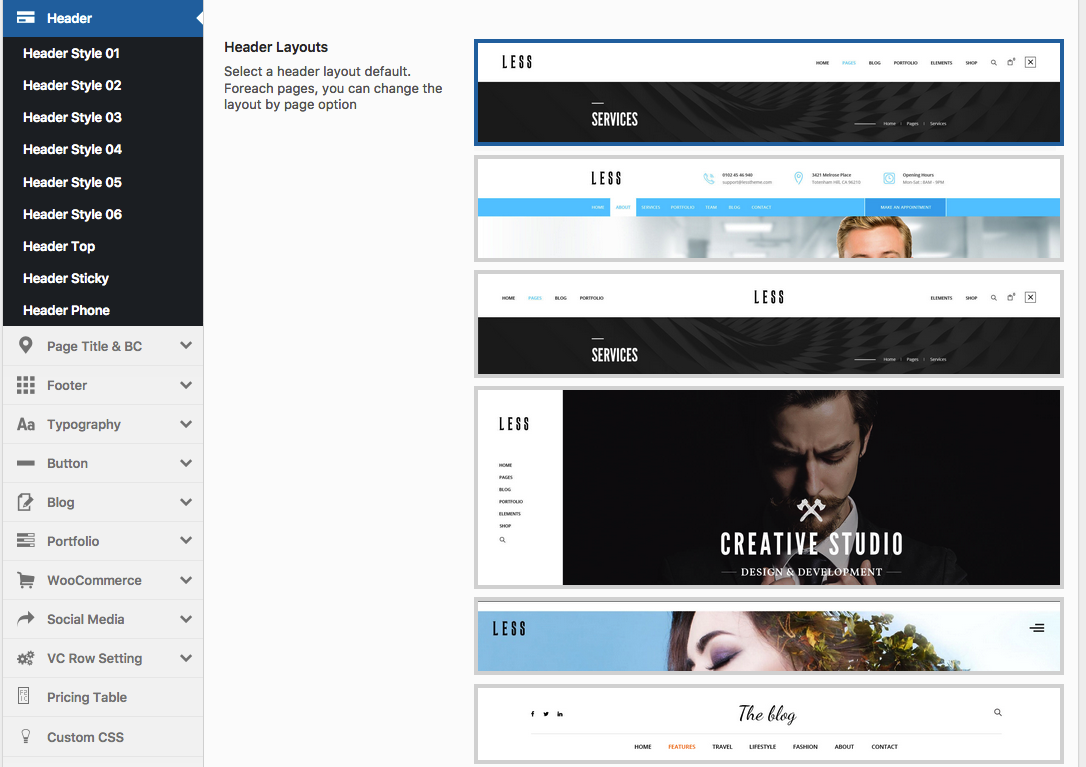
Less currently offers 6 different Header Layouts, each with its own unique design and set of options. In addition, the header can be positioned on the top, left or right. There are several options to customize the header, as well as the content within it. Please read below to learn how to setup the header.
Navigate to Appearance > Less Options > Header to access the header options. You will see 6 sub-panels for each Header Layout and Header Top, Header Sticky, Header Phone. See below for information on what each section contains
Header Detail (such as Header Style 01)
For each header layout (such as Header Style 01). There are several options to customize the header, as well as the content within it. Please read below to learn how to setup the header.
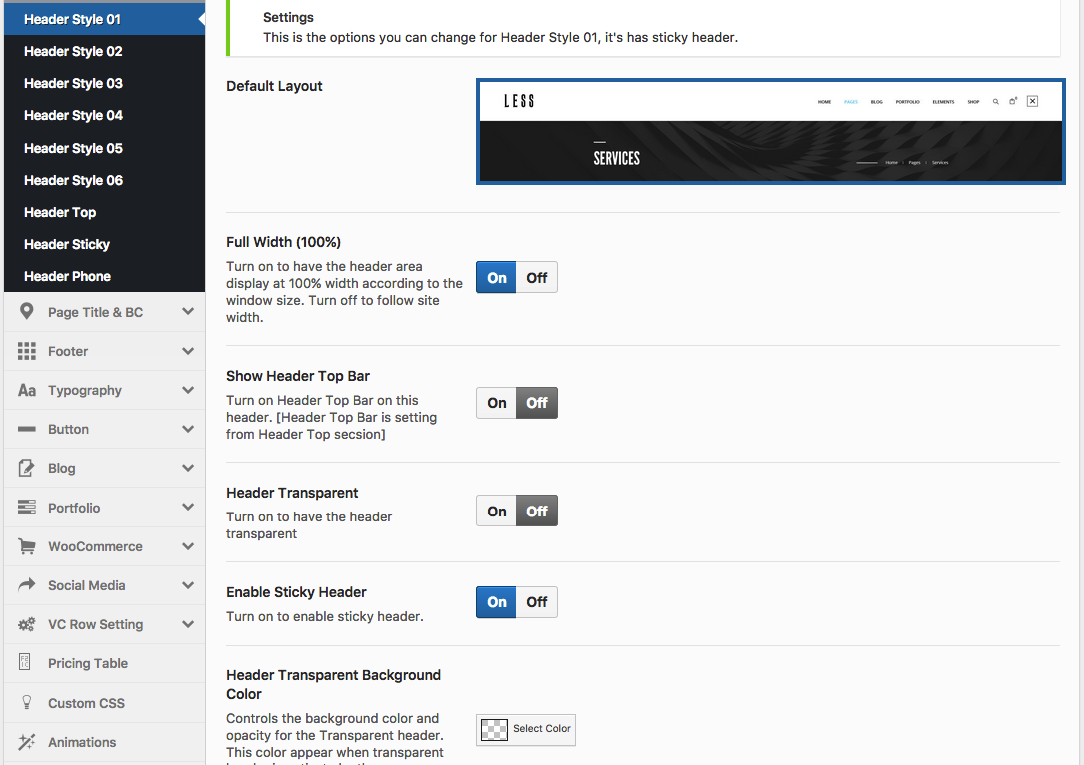
Full Width (100%): Turn on to have the header area display at 100% width according to the window size. Turn off to follow site width.
Show Header Top Bar: Turn on Header Top Bar on this header. [Header Top Bar is setting from Header Top secsion]
Header Transparent: Turn "on" to have the header transparent.
Header Background: This options allows you to select color for the background, or upload photos from your computer.
...
You can read all field description from live Control Panel
Logo Setting
Logo includes options to position the Logo on left or right of your header style, set the height of logo, select an image logo or custom top/right/bottom/left margins for the logo.or below the header. All of these options can be selected globally in Less Options > Header Style N , or you can individually per page or post with the Less Page Options ( we will mention it on Page Options), which will override the global Less Options. It's means if you set logo options on Intent options, all page will be set and display as your ways that you choose. When you change on Page options, only pages which you chosen will be displayed, others pages will display according to Less Options.
![]()
Logo Position: Setting the logo to the Left or Right position displays on your site.
Logo Image: This options allows you to upload logo from your computer
Logo Max Height: Controls the max height of the logo, scroll bar and select values from 50px to 300px.
Logo Slogan: This content will display below logo, you can edit it on text box.
Logo Margin: This options allows you to adjust the distance on the above, left, below and right according to your desired logo.
Menu Setting
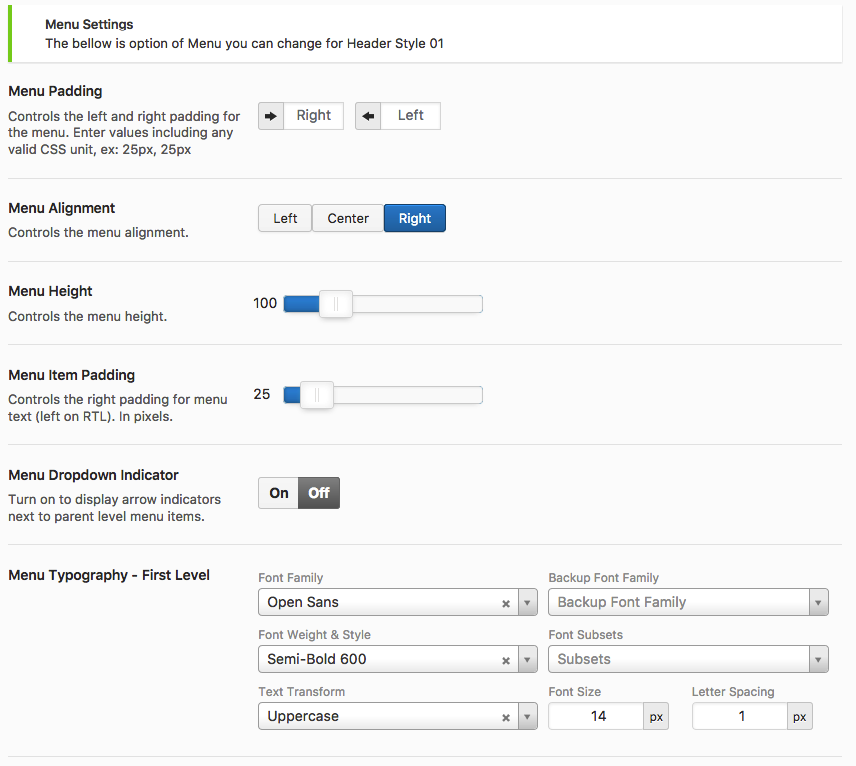
Menu Alignment: Setting the "Menu" to the Left or Right alignment displays on your site.
Menu Height: Controls the height of the menu, scroll bar and select values from 30px to 300px. Menu height default is 92px.
Menu Item Padding: Controls the right padding for menu text, scroll bar and select values from 10px to 100px. Menu height default is 25px.
Menu Dropdown Indicator: To display arrow indicators next to parent level menu items.
Menu Typography: This options allows you to custom font size, font-weight, font family, text transform and letter spacing of all menu items first level on your website. This does not include submenu items.
Sub Menu Typography: This options allows you to custom font size, font-weight, font family, text transform and letter spacing of all menu items sub level on your website. This does not include submenu items.
Header Top
On this session, you can customize some options for your style, such as:
Disable on phone? Turn on to disabled the header top area on the phone screen.
Header Top Height: Controls the height of the header top, scroll bar and select values from 45px to 300px.
Header Top Background: To customize Header Top Background, you can do so by going to the Header > Header Top Background Color sub-panel and select color or set header top background image to click "Upload" to choose background image for header top.
Header Top Color: This options allows you to set color for text in header top.
More in Control Panel, screenshot bellow is sample:

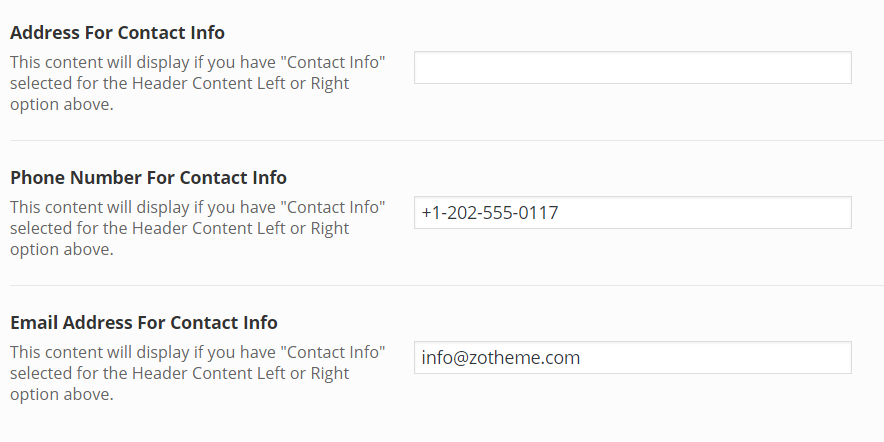
Contact Info: This content will display if you have "Address" "Phone Number" and "Email Address" selected for the Header Content Left or Right option above. You can edit content on boxes
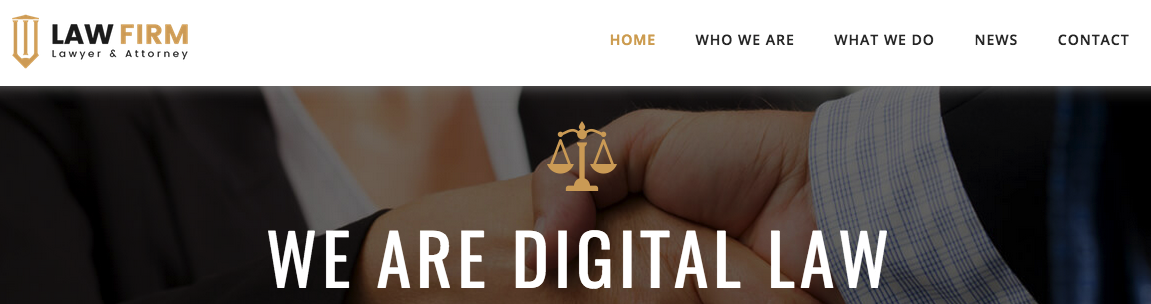
Frontend showing

Header Sticky
To display Sticky Header. Navigate to the Appearance > Less Options > Header > Header Sticky
In this option, you can set background color, background image, header padding, max height, logo, font-size and font color for first / sub menu level.
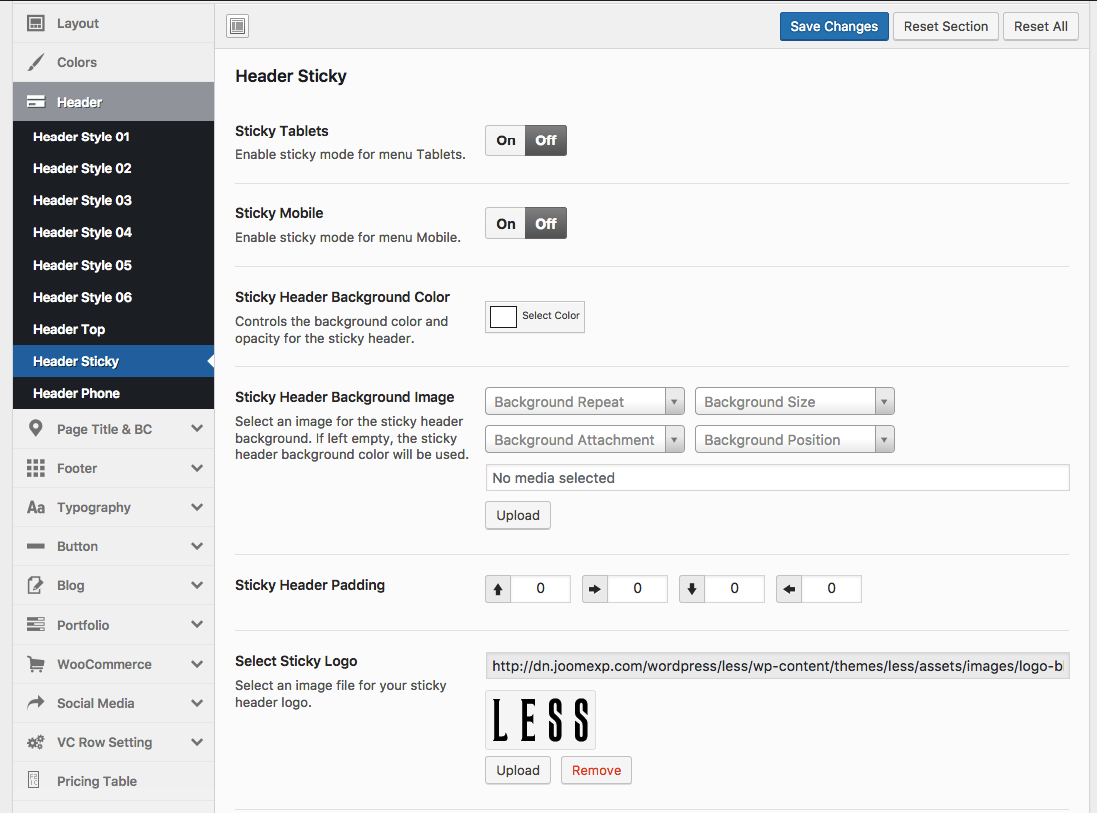
Demo screenshot bellow:
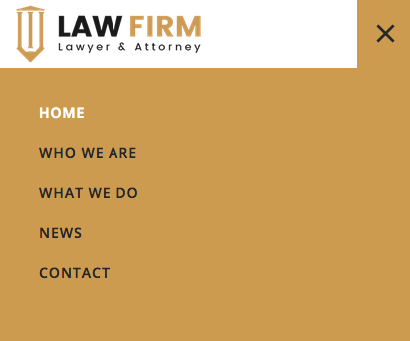
Header Phone (mobile)
To display Phone Header. Navigate to the Appearance > Less Options > Header > Header Phone
In this option, you can set background color, background image, header padding, max height, logo, font-size and font color for first / sub menu level.
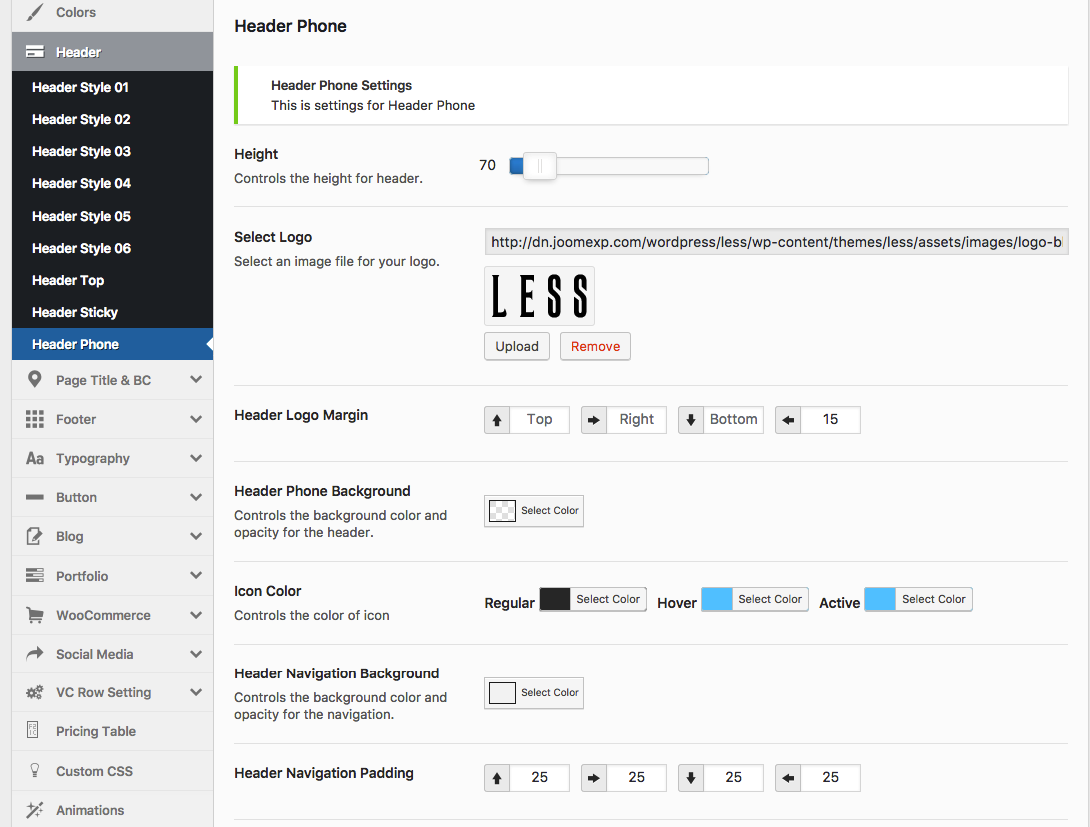
Demo screenshot bellow: